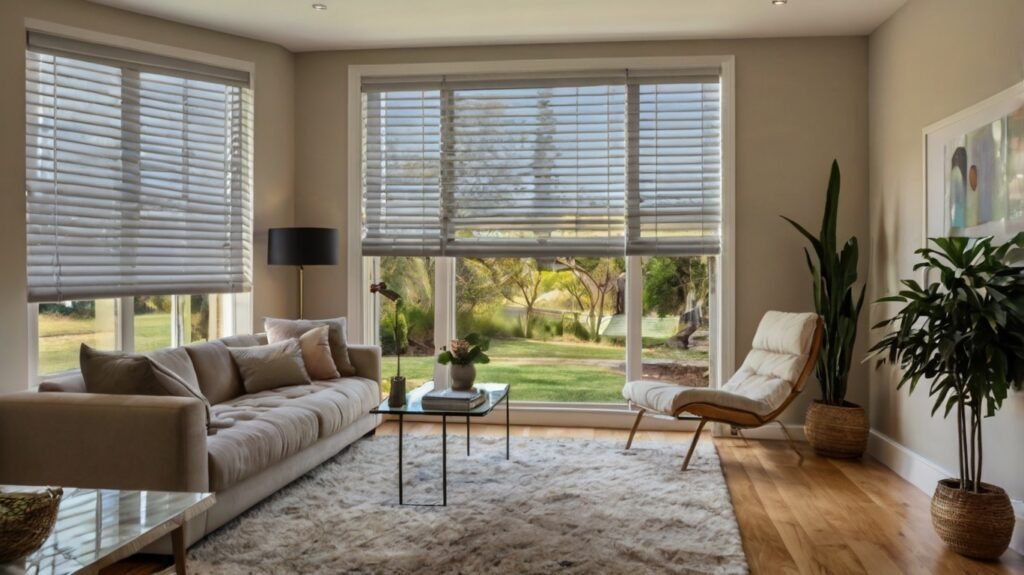
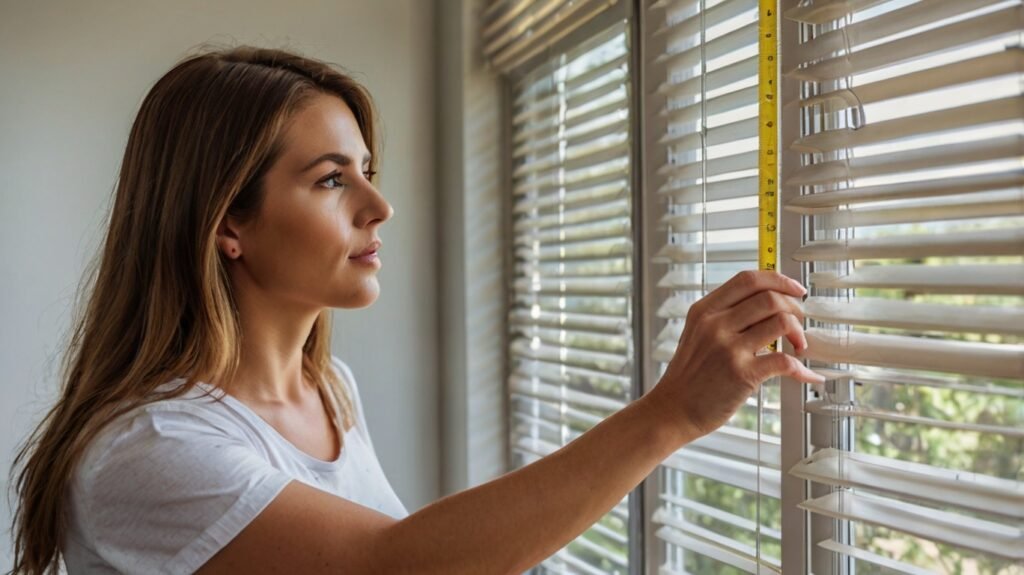
G’day! As a window treatment specialist with over 15 years of experience helping Aussie homeowners transform their spaces, I’ve learned that accurate measurement is the cornerstone of perfect-fitting blinds. This comprehensive guide will walk you through everything you need to know about measuring your windows like a pro.
Understanding Window Measurements
Before we dive into the nitty-gritty, let’s get our heads around what we’re actually measuring. Think of your window like a picture frame – it’s not just about the visible glass, but the entire structure that holds it in place.
“The difference between a good blind and a perfect blind often comes down to millimetres. Precision isn’t just important – it’s everything.” – Sarah Thompson, Interior Designer
Key Measurement Terms
- Reveal: The depth of your window frame
- Drop: The height of your window
- Width: The horizontal measurement
- Architrave: The decorative frame around your window
Essential Tools for Measuring
Just like a tradie needs their tools, you’ll need the right equipment to measure accurately. Here’s your measuring toolkit:
Must-Have Tools
- Metal tape measure (not fabric or plastic)
- Step ladder
- Pencil and paper
- Level tool
- Smartphone for photos and notes
“Using a metal tape measure instead of a fabric one can make the difference between a perfect fit and a costly mistake.” – Mark Davies, Window Installation Expert
Inside Mount vs Outside Mount
This is where many Aussies get stuck – choosing between inside and outside mounting. Let me break it down for you.
Inside Mount Benefits
- Creates a clean, built-in look
- Takes up less space
- Perfect for modern homes
- Showcases decorative window frames
Outside Mount Benefits
- Provides better light blockage
- Makes windows appear larger
- Hides imperfect window frames
- Better for shallow window depths

Step-by-Step Measurement Guide
Right, let’s roll up our sleeves and get measuring! Follow these steps carefully – remember, measure twice, cut once!
For Inside Mount
- Measure Width
- Take three measurements: top, middle, and bottom
- Use the smallest measurement
- Don’t deduct anything – the manufacturer will do this
- Measure Height
- Measure left, centre, and right sides
- Use the smallest measurement
- Measure from top of opening to sill
- Check Depth
- Measure window depth
- Ensure it meets minimum requirements for your chosen blinds
For Outside Mount
- Measure Width
- Measure the width you want to cover
- Add 50-100mm each side for light blockage
- Consider architrave placement
- Measure Height
- Measure from mounting point to where blinds will end
- Add 100mm to top for mounting bracket
- Add 50-100mm at bottom if extending beyond sill
Common Window Types and Special Considerations
Different windows need different approaches. Here’s how to handle various types:
Standard Windows
- Straightforward measuring process
- Follow basic inside/outside mount guidelines
- Check for obstructions
Bay Windows
- Measure each section separately
- Consider angle of corners
- Allow for protruding handles
Corner Windows
- Decide which blind will be dominant
- Account for blind stack when open
- Consider light gaps
Skylights
- Account for window angle
- Consider special mounting requirements
- Check manufacturer specifications
Measuring Tips and Tricks
After years in the business, I’ve picked up some pearls of wisdom worth sharing:
- Time of Day Matters
- Measure in daylight
- Check for sun damage spots
- Note direct sunlight patterns
- Documentation is Key
- Take photos of each window
- Write measurements clearly
- Note any special requirements
- Consider Seasonal Changes
- Allow for wooden frame expansion
- Account for temperature fluctuations
- Think about condensation
Avoiding Common Mistakes
Let’s learn from others’ mishaps:
Common Pitfalls
- Assuming all windows are square
- Not checking for obstructions
- Forgetting about handle clearance
- Using rough measurements
- Not considering reveal depth
Prevention Strategies
- Use a level tool
- Check all corners
- Test window operation
- Double-check all measurements
- Document everything
Professional Tips
Here’s what separates the pros from the amateurs:
- Precision Matters
- Measure to the nearest millimetre
- Use consistent measuring points
- Write down measurements immediately
- Consider the Full Picture
- Think about furniture placement
- Plan for window cleaning access
- Account for air conditioning units
- Future-Proof Your Choices
- Allow for window settlement
- Consider upcoming renovations
- Think about changing needs
Conclusion
Measuring your windows for blinds doesn’t have to be a headache. By following this guide, you’ll be well-equipped to tackle this project with confidence. Remember, taking your time with measurements now will save you both money and frustration down the track.
The key takeaway? Measure twice, order once, and when in doubt, consult a professional. Your perfect blinds are just a few careful measurements away!
Frequently Asked Questions
Q: How do I know if my windows are square?
A: Measure diagonally from corner to corner in both directions. If measurements differ by more than 5mm, your window isn’t square.
Q: Should I measure each window separately, even if they look identical?
A: Yes, always measure each window individually. Even windows that appear identical can vary by several millimetres.
Q: What’s the minimum depth needed for inside mount blinds?
A: This varies by blind type but generally ranges from 50mm to 95mm. Check your specific blind requirements.
Q: How high above the window should I mount outside mount blinds?
A: Generally, add 100mm above the window frame, but consider ceiling height and architrave placement.
Q: What if my measurements for width or height aren’t consistent?
A: Always use the smallest measurement for inside mounts and the largest for outside mounts.
Q: How do I measure windows with protruding handles?
A: Measure from the deepest point of the handle protrusion to ensure proper clearance.
Q: Is it better to measure in millimetres or centimetres?
A: Always measure in millimetres for greater accuracy and to match manufacturer specifications.

